Friday, December 30, 2011

New Year's Destash

This is a special, month long progressive destash giveaway for my followers :)

If you're not a follower, then you're not eligible :p

Each Friday I'll post a photo of some items that will be added into the 'pot'. 

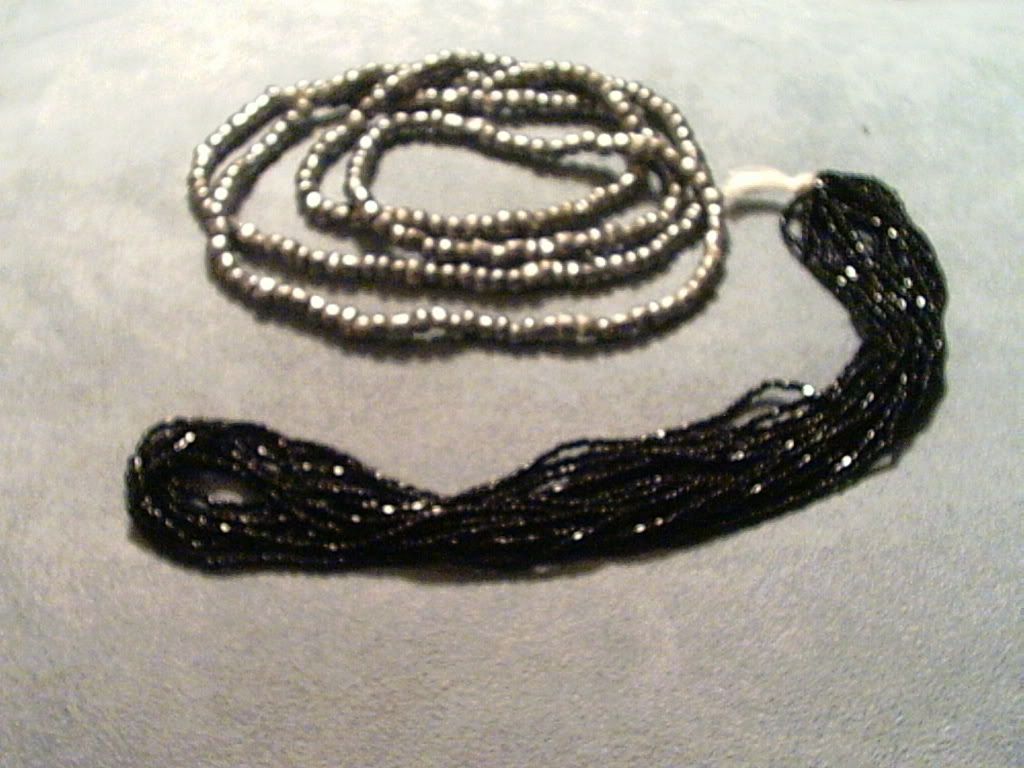
This weeks destash addition - a hank of vintage black seed beads, and a string of.. well, we'll call them mystery beads. I have no idea what kind they are aside from being silver in color. They were part of a batch of I bought that contained the vintage beads. I did have plans for them- a mixed media necklace that I'd sketched out and had the beads all picked out to go with it... but the impulse to make it faded and I turned to different styles >.< 

I do that a lot... thus, the destash ;) 


All you have to do to enter is be a follower and comment saying you're interested in winning :) 

You can comment once each post, and there will be a new post with a new addition to the destash each Friday AT LEAST ... I may do the odd surprise extra post depending on my mood and what all I find as I sort through my goodies  :) 

~Skye

New Beginnings - F.F. #1

 Hello :)


Despite the fact that it's not QUITE the new year yet, I'm starting it off right here :) ( still can't believe this is the end of THIS one already...where did the year go?!)


There will be a few changes to how things are done as far as giveaways and such go.


#1 -As far as the giveaways themselves are run, I've been considering Rafflecopter so I think we'll give it a try this month and see how it works out :)
#2- Prize wise, we'll be doing two - one run by rafflecopter open to everyone, and a second open to ONLY  followers ( this one will be done by comments & random.org ). Followers can enter both ;)
#3 - I will no longer be emailing the winners. From now on the winner's name will be posted in my blog and they'll have two weeks in which to contact me to claim their prize. If they don't, I'll draw a new winner.


So what do you think? Not bad as far as changes and rules go ;)


I've been thinking of challenges and what not as well, and have decided to consider taking part in more, as well as host my own.


I saw one about a daily challenge where you make one pair of earrings each day. That sounds very doable... but what would I do with all those earrings? If you have a shop you can always post them for sale, so for shop owners it would be a good way to keep your stock up :) I HAVE been giving opening a shop some serious thought lately...


I suppose it would also depend on how long the challenge ran as too how many you ended up with... and for me, well... there are days when I just don't feel like making earrings and need to do something 'more'... perhaps  something more like ' a piece of jewelry a day' ... then post a collection of what had been made at the end of the week? What do you think? Would you be interested in joining me in creating something each day and then sharing photos of the weeks work on a Sunday? Perhaps start a flickr group for it? I'll be playing with photoshop and creating a name for it and a button to share in case anyone is interested in joining in and will be starting it off on Monday, so you can expect the blog post about it on Sunday with maybe a MisterLinky or a flickr group link or something along those lines for anyone interested :)


My Freebie Friday for January, as I mentioned, will be different.

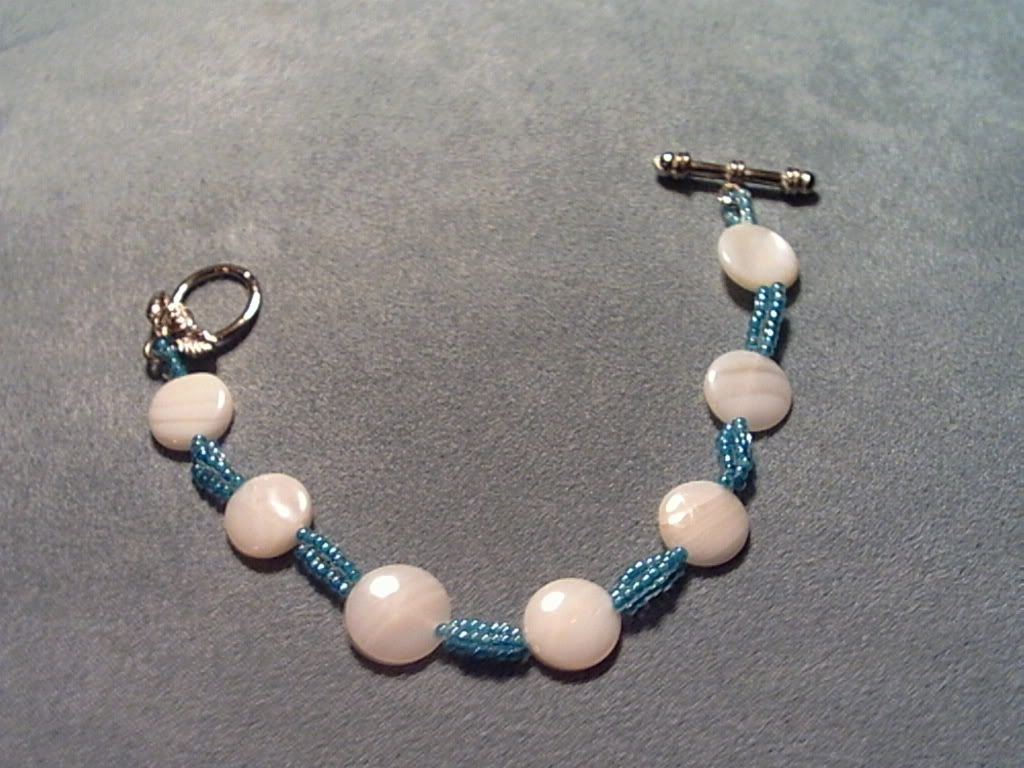
There will be one post (this one) with the main 'everyone is welcome' rafflecopter entry. Up for grabs this month is this shell coin & seed bead bracelet


The second part of it, the one for followers only, will be in parts. I've decided I rather enjoy the destash giveaways that I come across and so, for my followers, I shall do a month long destash :) I'll post a second blog just for that though, so be prepared for a double posting tonight ;)

Thursday, December 29, 2011

December F.F. winner :)

Alright, so I'm a day late in posting this >.<

I came home from work yesterday absolutely wiped and just couldn't focus enough to write a legible post, let alone one that made sense in any way. Seriously... to let you know how tired I was..I went to bed BEFORE 8 pm. >.<  I was falling asleep watching a movie and finally gave up at about quarter to eight and went to bed. I decided since today was my day off,  I'd post my blog in the morning instead.

....Then I got called in to work. Since I managed to escape after a half day, I came home for a nap then did laundry... and now I have the time and the active brain cells to accomplish my blog post. Yay me :D!

For the record, I'm blaming my bed on my exhaustion. It's too comfortable.
I'm serious! Don't roll your eyes at me.. and I know you did! Now clean up the coffee you just spit all over your computer screen so I can finish this :p lol

As I was saying, my bed is too comfy. It's one of those foam things, which holds in the heat so you stay nice and warm all night. I have problems with my back though and tend to swap out between sleeping in my bed and on my couch... the couch tends to get more use since it's comfortable and I have to get up and walk across the room to turn off my alarm clock in the morning, so can't hit that damned snooze button ;) I'm also one of those people who don't sleep through the night. I ALWAYS wake up at least once some time around midnight or so, and usually a second time about an hour or so before my alarm is due to go off.  Anyhow, my mom decided that the problem was that my bed wasn't comfortable enough, so she brought me this thick foam padding to add to my bed.

Yes, this DOES make it more comfortable. And warmer. So much so that I sleep right through the night without getting up at all.. at least that I remember.  

I think that's the problem. I'm sleeping too deeply... weird, I know, but the more I sleep in my ultra comfy bed, the more days I end up feeling completely wiped out by the afternoon. Of course, this IS the holiday season with all the stress and workload that implies, so I'll see if it continues once we get into the new year and things even back out to normal.

Yeah, I'm rambling. Deal with it :p You should know by now I never come right out and tell you what you want to hear/read..I make you suffer through whatever is on my mind first.. buwahahahahaha! :) ( that was my evil laugh, btw... you should be able to hear it echoing around in your head.. if not..you read it wrong.. try again :D heheh)

Okay okay okay! I'll get on with it!

The LAST Freebie Friday post from the blogspot site, F.F. #9  was a limited, Canada / U.S. giveaway of this


And the winner as chosen by Random.org  is...


            commenter # 8,   Marianne of Simply Seablime Jewelry!

                        Congrats, Marianne :) You've won my last giveaway of 2011 & the old blog!

I'll try to get up a post tomorrow featuring what's up for grabs next time and the new rules of the game ;) New year, new blog - new rules ;) Also means new goodies .. and since it will be the FIRST giveaway of the year, AND the new blog I'll make sure it's a special one ;) Plus, with the addition of followers, you can be sure there'll be a special part just for you guys :D

Keep in mind my current 'comfy bed = early bedtime' state of being though and if you don't see a post tomorrow, don't panic.. it'll get posted as soon as I can and you've still got most of a month to get your entries in ;)

                                 ~ Skye

Monday, December 19, 2011

Christo'ween

...
:)


Hi :)


So how does a fan of Halloween decorate for Christmas, you ask?

Excellent question :D

The answer - with just the right touches ;)

Allow me to share a couple photos of my holiday decorations... now that I finally have some up ;) and share some tips with you.
Btw... I don't have a tree up because

a) I have two cats

b) I have no room

and c) I'm lazy

Christo'ween decorating tip #1 - how to accent 'normal' christmas decorations.
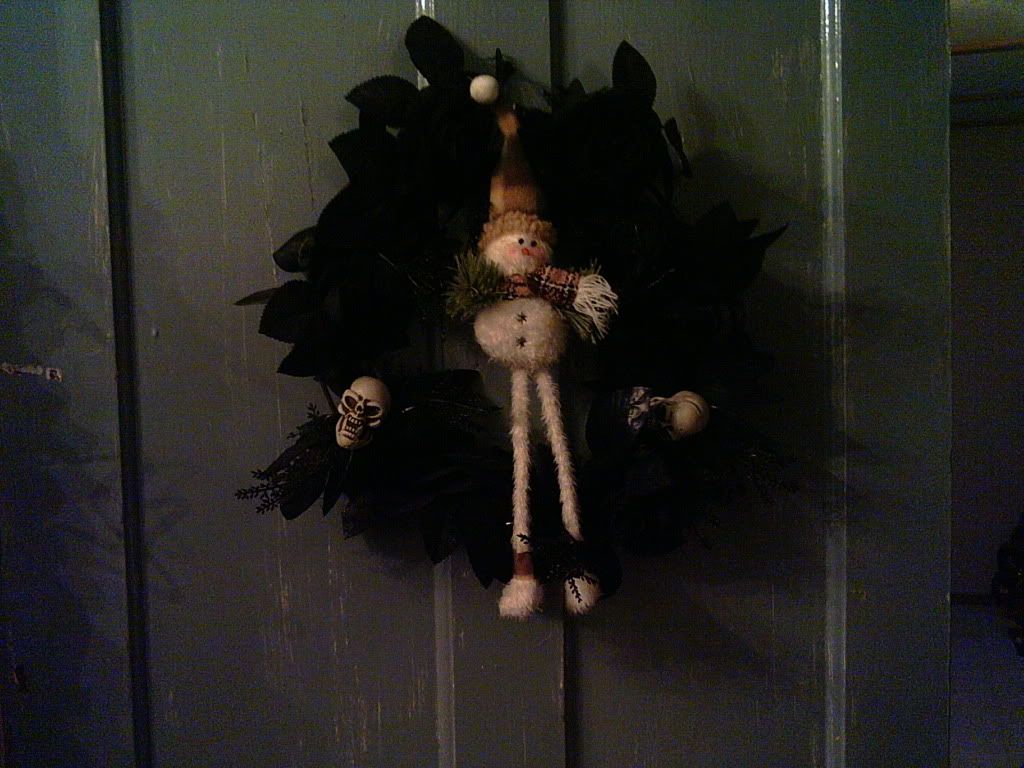
a) wreaths -  Here we have the black rose wreath accented with skulls that hangs on my kitchen door year round. A homage to my own tastes .. as well as a warning concerning the normal state of my kitchen and cooking ;) to make this into a Christo'ween decoration, I've added a festive little snowman... who looks a tad perturbed to be surrounded by skulls...


b)  Center pieces & Table top displays
Here it's the subtle touches that mean the most.
A standard crafty pine cone/greenery/ red candle/thingy takes center stage, with a white and cream clad Santa in behind and a little snow flake embossed candle holder on the front left.
To add a touch of Christo'ween to it... note the black roses in the vase behind it on the right and the little tombstone to the front right ... the tombstone is TOTALLY Christmas appropriate - it says 'Bill me later'
 :D


and of course, the best part of Christmas decorations ... 
c) lights 
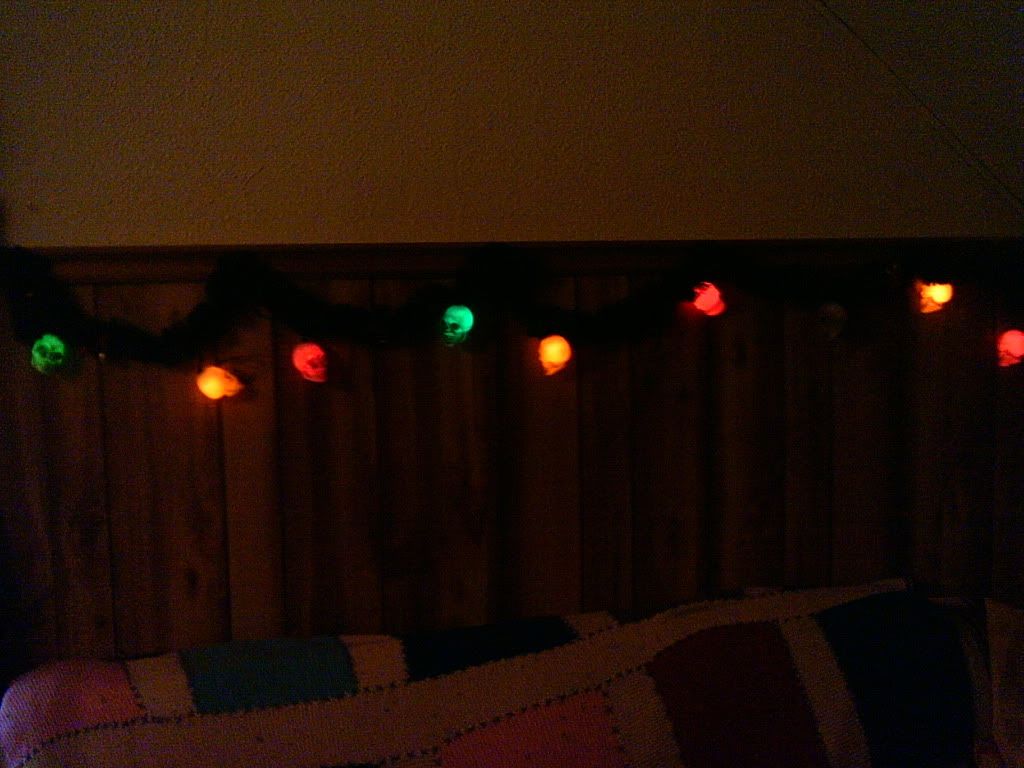
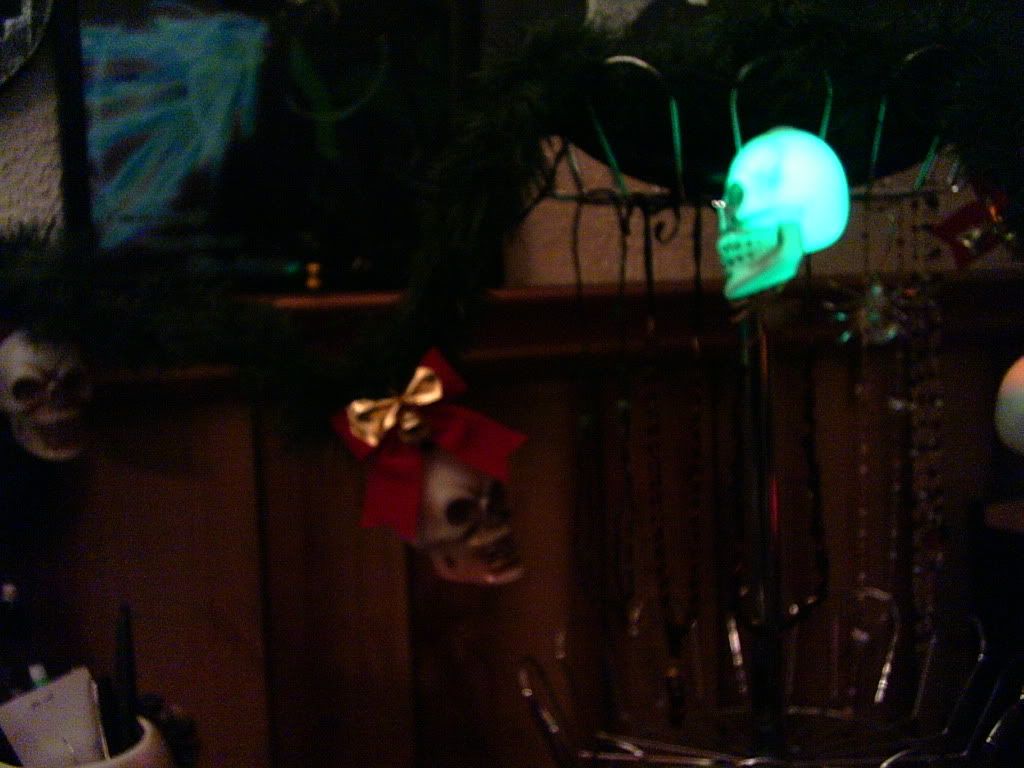
As you can see, completely Christmasy. I have the light cord wrapped with greenery and little red velvet bows and gold bells.  The lights ARE skulls, yes, but they blink randomly  in red, green and gold! They even play music, although I have that turned off since it's on a motion detector and there's nothing quite like being woke from a deep sleep by the theme song from the movie 'Halloween' because the cats tried to play with one of the skulls or bells.

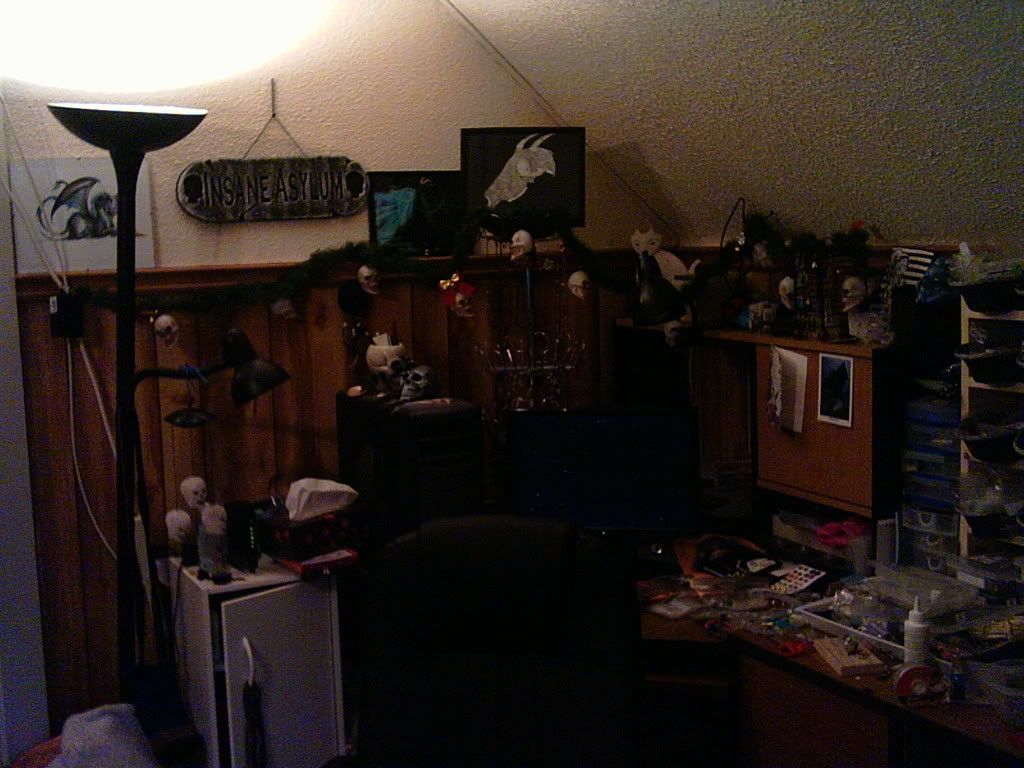
Here's a shot of the second strand above my computer, and a close up of them :) You can see the little crystal spiders I won from Jeannie's 12 days of Christmas blog hop in that one.


So there you have it. How to incorporate two holidays known for their decorations into one :)

Now that I've put up some decoration at least, I can now return to my work with a clear conscious :) hope you all enjoyed the pics :D
                
                                          ~Skye

Sunday, December 18, 2011

Help a fellow artist and enter to win a beautiful necklace.

I just learned from Karen Totten over at Starry road Studio that one of my favorite jewelry artist/bloggers, Sparrow Salvage, has undergone a tragedy and needs our help.

She was in a car accident a few weeks ago in which she lost her mother and was gravely injured herself.  Sparrow is a fighter and is recovering, however has been, and will no doubt continue to be, unable to work and earn money for some time.

A simply gorgeous necklace  has been created and is being raffled it off to raise some money to help Sparrow out. Check out the blog -> raffle-fundraiser 


Thursday, December 15, 2011

Christmas Charms Tutorial

Hello all :)

So Craftsy.com is having a Christmas project contest that got me thinking.
I COULD just upload my project and leave it with 'no instructions available' like so many others do. 
I COULD.  
Personally, however, I find it rather irritating when I'm checking out things listed under 'free projects' and discover it's nothing more then a picture. I'm sorry, but 'free project' to me means instructions on how to DO the project. 

And 'free' means  FREE... looking at a 'free' project and following the link to the instructions only to find a pdf you have to PURCHASE from someones etsy shop irritates me too... but that's besides the point.

So... despite the fact that it'll take a bit of time to do and that it's a little bit extra effort on my part without any extra personal benefit ..I decided to create a tutorial for the project I'm entering.
Click here to go to my Craftsy page for this project and click the 'heart' to vote for my project :)

Okay... end explanation & mini rant... 
... cue tutorial...

~ ~ ~ ~ ~ ~

Christmas Charm Bracelet & matching earrings

materials:

( approx) 48 assorted beads in red, white, green & gold
(approx) 7" gold-tone chain in the style you desire (depending on the size you want the finished bracelet to be.)
gold-tone head pins - one for each bead
Either gold-tone seed beads OR ball head pins
gold-tone french ear wires
gold-toned toggle clasp
8-10 gold toned jump rings

                tools: 
round nose pliers
flat nose pliers
wire cutters
measuring tape


The type, size and color of beads & findings are totally up to you. Since this is for a Christmas bracelet though, I've used gold-tones for the chain and findings, and red, green, white and gold colored glass beads. Make sure to set aside three sets of matching pairs of what ever beads you're using for your earrings.
You'll notice in my picture that I have four colors of beads, but within those colors is a variety of shapes & sizes. You can certainly use the same sizes and styles through out, but I think the different style beads add to the whimsical, fun nature of the bracelet.

First off, if the bracelet is for you, measure your wrist; the tape should be snug but not tight. Measure out your chain so it's the length you want and use your wire cutters to snip the link past your measurement. ( If it's not for you, 7 is apparently 'average' size for a woman... although the majority of the women I know are a 6...>.< find out what size you need to make it to be safe )

Use two of the jump rings and attach your clasp to either end of your chain. You may chose to use two jump rings at each end for added strength. For a nice full look to your charm bracelet, you want one bead dangle per chain link. ( that's what I did.) You could also go one every other chain link for a slightly less 'crowded' look.  Count out how many charms you'll need, then set your chain aside.

To make a bead charm ~

Take one of your head pins and slip on one of the gold seed beads then one of your larger beads.( if using a ball head pin, you don't need the seed beads).
Place your thumb on the bottom of the pin while you hold the bead so it doesn't slip, the use your flat nose pliers to bend the head pin over at a 45 degree angle.
Use your wire cutters to trim the excess pin off. I find 1/2" to be plenty to work with.
Now take your round nose pliers and pinch the end up the wire and roll it half way around the jaw of the plier, forming half a loop, then turn it around and finish closing the loop about 3/4 of the way.

 I suggest you mark your pliers on the place you used to wrap the loop on so all your loops will be about the same size.

Congrats... you just made a beaded charm. Keep going until you have enough to fill your bracelet, PLUS an extra six for your earrings.

At this point I stretch my chain out on my mat then play with the bead charms, laying them out until I liked the way it looks. Then it's just a matter of hooking each open loop through the chain and closing the loop.

Make sure your chain is straight when you do this. Some people prefer to pin their chain down and only attach the charms to one side. If you're doing every other link or have smaller beads, it would be best if you did this. If you're doing a bead to every link and are using larger beads... or even 2 beads to every link, depending on the size of your beads and links, then I don't find it matters since you can't really see the chain, and the weight of the charms will make it twist and turn all over anyhow ;)

Once all of the charms are attached, I take my flat nose or curved nose pliers and go back over each one to make sure they're all straight and closed securely.

then all that's left is to try it on :) The toggle clasp will have added a bit to the over all length of the bracelet, giving it enough dangle. If you find it a bit big, cut off another link or two and reattach your clasp. If you find you cut it a bit small, you can add a couple more doubled jump rings to the end of the chain to give it that extra bit of length. Or just make yourself a new one and give the too small one to someone as a gift ;)

for the earrings -
Attach one bead charm to each jump ring.
choose the order you want your colors to hang in, then attach the top jump ring to your earring finding. Attach the jump rings so that each rings hangs from the one above. Make sure the way the beads hang on each earring mirrors the other.

Tada.you're finish :)

Maybe I'll take photos of this process and add them in to this some time over the next couple days.

Saturday, December 10, 2011

Test run

Good morning :) 
Yes...I said the words 'good' and 'morning' together... something I rarely do.
Of course... the times I DO use them together, I generally have the day off, and any morning where I don't HAVE to wake up at 4:30 to a blaring alarm already is on my 'good' list :D

So.. despite the headache that refuses to go away and the fact that it's 10:30 and I still have as yet done NOTHING on my todo list from last night, let alone form this morning... yes.. I'm still saying 'good morning'.

 ...we'll blame it on the fact that I've already had two cups of coffee, my cats have been in the snuggling mood and I got to watch the latest episode of Ghosthunters.

Oh.. and I'm playing with the new blog :D
 I'll make a new header at some point, by New Years hopefully.. maybe sooner depending on whether or not I get everything else done... and I'll probably try making my own background as well, but for now...I kinda like this :)

So to recap on my whine/rant.babbling fest from the last post ... lol 
1) I'm still fighting off whatever mystery bug this is - it doesn't hit hard enough to put me down, just hard enough to let me feel it, along with the occasional poke to keep my attention >.<

2) I'm still playing with the new blog.. as you can see ;)

3) .. as for the 'grey blah wish-it-would-make-up-its-mind whine about the weather and time of year....


It made up it's mind. It's no longer grey and blah... now it's white and cold >.< That's the view of my fire escape... the bit of blue on the right is my garbage can with about half a foot of snow on top of it. I should've had my camera with me yesterday to work. I couldn't taken some prettier pictures;) The snow fell constantly ALL DAY LONG. I looked like a snowman by the time I got to work. I banged off all the snow on my hat and coat while I was waiting for them to unlock the door and let me in... then got called to a stop so they could bang off the several inch tall pile of snow off the top of my backpack >.< 

REALLY glad that before this hit, I'd managed to find a good pair of knee high winter boots that not only keep my feet dry and warm, but have decent traction on the ice too. The skid marks of feet going down the hill on my walk home were a tad unnerving, but I only did a couple little skids.. and didn't even spill my coffee ;)

So...I opened my mouth and whined about how grey and dark it was... and tada.. it's all bright and sparkly white now. 

Me and my big mouth >.< 

So now I'll have to start setting my alarm another ten to fifteen minutes earlier to make up for the slower walk through the snow.. and occasionally shoveling off the steps as well.

I did however reload my Timmies card :D For you non-Canadians,  Tim Horton's (or Timmie's), is a major coffee chain.. a major AFFORDABLE coffee chain, unlike starbucks, etc. I usually get a gift certificate for them from someone over Christmas so last year I got smart and just kept reloading the one I got.. that way I don't have to sacrifice coffee because I don't have enough change on me. This is especially important during the colder months since some times the only incentive you have to bundle up under a few pounds of heavy clothing and wade into the snow and cold... is that steaming hot cup waiting for you along the way *L*

Well...I guess this has been a long enough chat for a test run on the new blog and to let you all know the miserable whine fest didn't last... although I still haven't done any holiday decorating or shopping. hopefully today if I get convince my butt to go out into the cold cold ;)

Let me know what you think of the new blog :)

btw, for those just finding me, you can check out my old/current blog at  ladychaos.blog.com

                                                        ~Skye